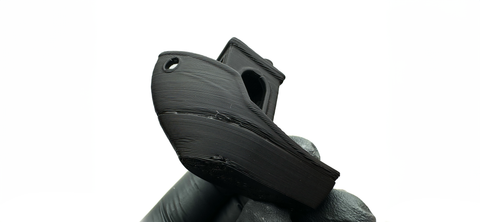
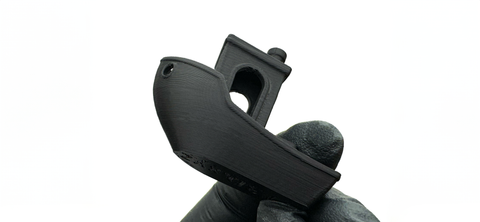
3D-Druck, obwohl für Hobbyisten zu Hause zugänglich, ist ein professioneller Herstellungsprozess, der ein gründliches Verständnis der FDM-Technologie und der Materialien erfordert.
Optimale Druckergebnisse erfordern die Anpassung der Einstellungen für jedes spezifische Filamentmaterial und Druckermodell.
Maximale Geschwindigkeit
Drucken Sie mit Geschwindigkeiten von bis zu 300 mm/s und erhalten Sie eine hohe Qualität, indem Sie Temperaturen und Kühlung anpassen, mit regelmäßiger Kalibrierung und Testdrucken für die optimale Einrichtung.
Düsentemperatur
Unser Filament erfordert eine Düsentemperatur von 225°C, über den typischen PLA-Einstellungen, aufgrund seiner inhärenten Stärke und höheren Hitzebeständigkeit.
Betttemperatur
Eine Betttemperatur von 60°C wird für die beste Haftung mit unserem speziell formulierten Filament empfohlen.
Geschwindigkeit der ersten Schicht
Stellen Sie die Geschwindigkeit der ersten Schicht auf maximal 20 mm/s ein, um eine solide Grundlage für Drucke mit unserem Filament zu gewährleisten.
Tested on Bambu Lab X1C (0.4 Nozzle): Speed: 300mm/s - Nozzle: 225 - Bed: 60 - First layer: 20mm/s
If you experience any issues, feel free to contact us. Happy printing! 🚀
Found better settings? Share and win free filament! Disclaimer: ATA® provides suggested 3D filament settings based on community feedback. Results may vary; user discretion is advised.
Legen Sie los mit ATA® PLA 2.0
Kalibrieren Sie neues Filament
Schritt 1
Flussdynamik
Flussdynamiktests im 3D-Druck gewährleisten einen genauen Materialfluss für hochwertige Drucke.
Für verbesserte Haftung und um Verzug auf einer kalten Platte zu verhindern, empfehlen wir die Verwendung einer PEI-Platte oder das Auftragen von Klebstoff.
Clean the Bed: Use isopropyl alcohol for a residue-free surface.
Adjust Bed Temp: Usually a hotter bed will help the filament stick more to the bed.
Apply Adhesives: Use glue stick or hairspray for extra grip.
Level the Bed: Ensure it's evenly leveled for uniform adhesion.
Use Brims or Rafts: Increase the adhesion surface with slicer settings.
Optimize First Layer: Slow down the speed and increase extrusion for the first layer.
Choose the Right Surface: Experiment with PEI, BuildTak, or glass beds.
Warping
Recommended solutions
Use a Heated Bed: Increasing the bed temperature can help the first layers of the print stay warm and reduce warping.
Apply Bed Adhesives: Use glue sticks, hairspray, or dedicated 3D printing adhesives to improve bed adhesion.
Use a Brim or Raft: Adding a brim (a wide outline around your print) or a raft (a platform under your print) can increase the adhesion surface and reduce warping.
Level the Print Bed: Ensure the bed is properly leveled and the nozzle height is correctly adjusted to improve first layer adhesion.
Optimize Printing Temperature: Adjust the printing temperature to ensure that the filament is extruded smoothly and adheres well to the bed.
Control Ambient Temperature: Printing in a controlled environment, free from drafts or sudden temperature changes, can reduce warping.
Choose the Right Material: Some materials are more prone to warping than others. Consider using filaments designed to minimize warping.
Adjust Cooling Fans: Reduce cooling fan speed for the first few layers to prevent rapid cooling and contraction that can lead to warping.
Stringing or Oozing
Recommended solutions
Retraction: Increase retraction speed or distance.
Lower Temperature: Decrease the nozzle temperature.
Faster Travel: Speed up non-printing movements.
Dry Filament: Ensure filament is moisture-free.
Temperature Tower: Test to find the optimal print temperature.
Combing Mode: Keep travel moves within the print area.
Coasting and Wipe: Stop extrusion early and move nozzle to reduce oozing.
Layer Shifting
Recommended solutions
Adjust Belt Tension: Ensure belts are neither too tight nor too loose.
Lubricate Movement Parts: Keep rails or rods lubricated for smooth movement.
Remove Obstructions: Clear anything blocking the print head or bed path.
Reduce Print Speed: Lower speed to reduce stress on the printer's mechanics.
Secure Pulleys: Check that pulleys on motors are tightened properly.
Increase Motor Power: If possible, slightly up the current to stepper motors.
Update Firmware: Keep your printer's firmware updated for optimal performance.
Level the Bed: Ensure the printing bed is properly leveled.